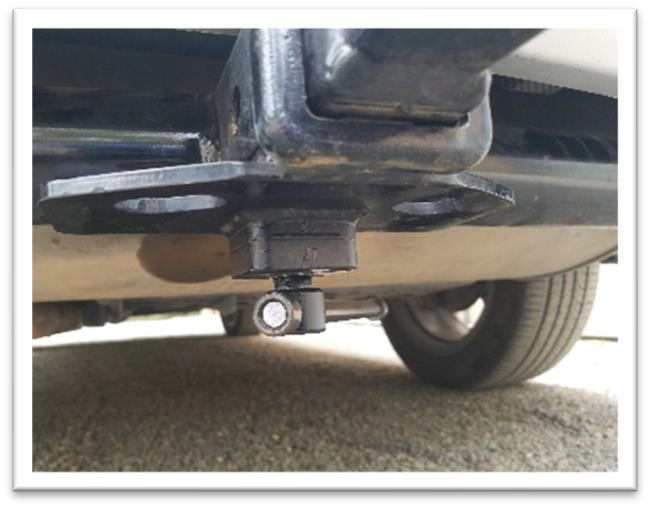
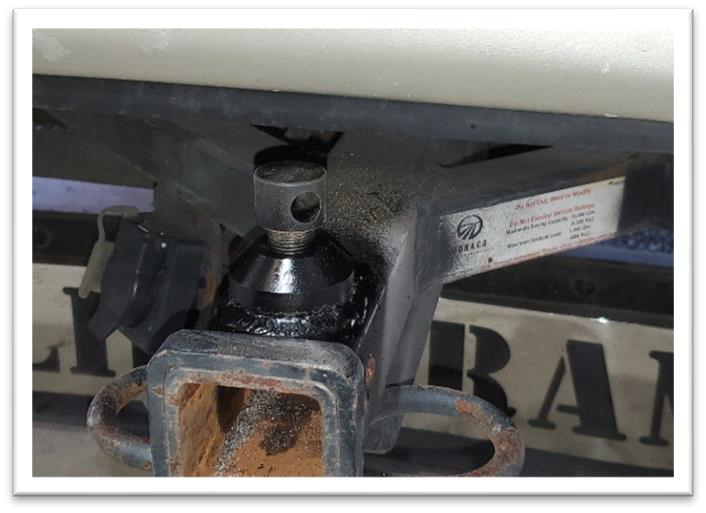
Installation and Maintenance Information:
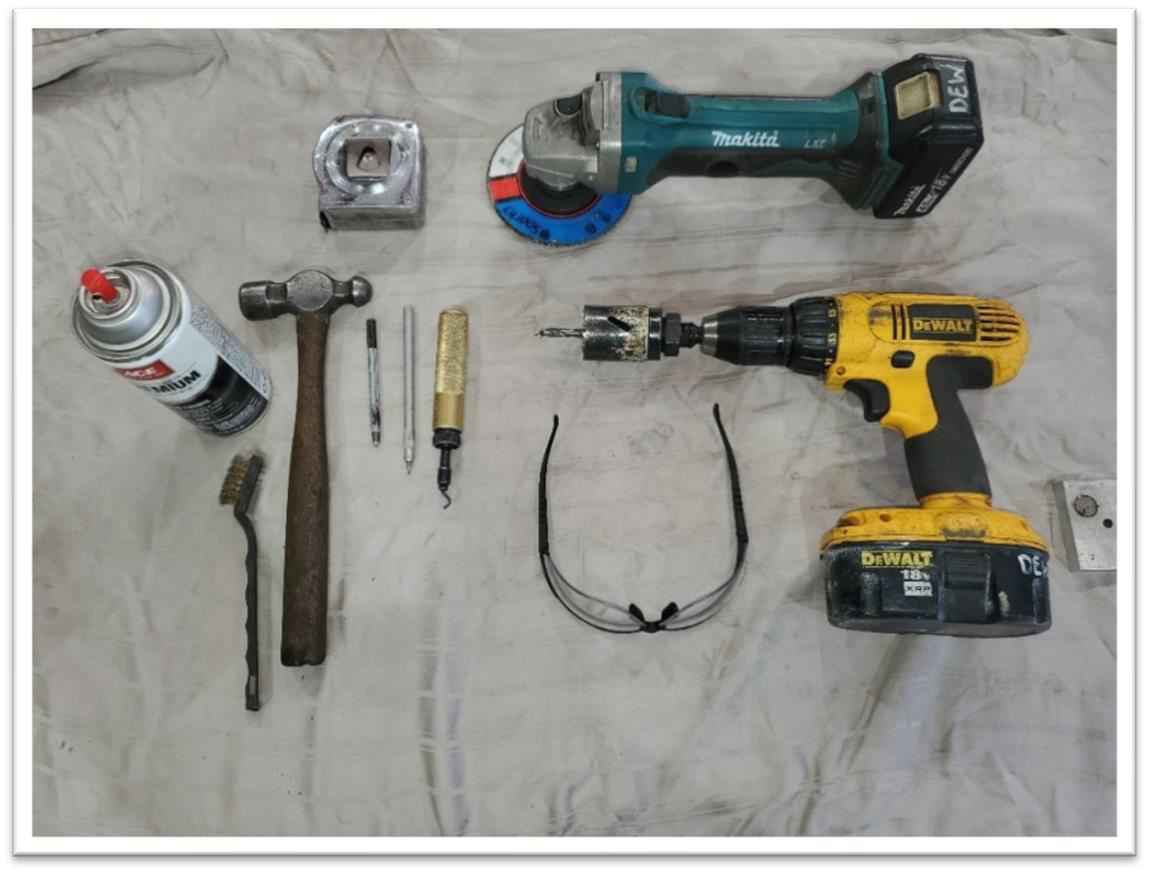
Tools/Materials Needed:
- Safety glasses
- Tape measure or ruler.
- Centerpunch and hammer.
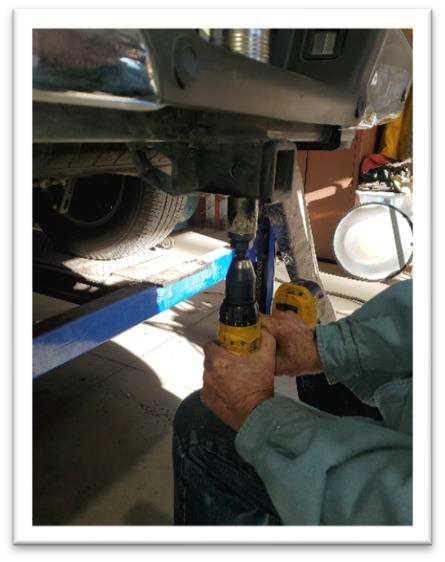
- 1 1/2” hole saw and drill.
- Deburring tool or file.
- Flap disc or sandpaper.
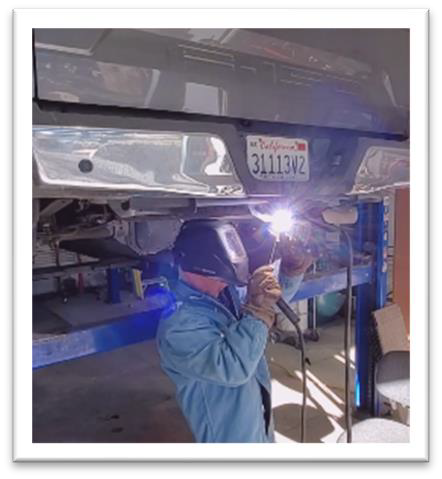
- Welder (not shown).
- Small wire brush.
- Paint.
Installation procedure:
- Locate a suitable position for Hitch Cinch on the receiver tube, mark and centerpunch at center point.
- Bore a 1 1/2” hole in the receiver tube, usually performed with a hole saw.
- Debur the hole with a deburring tool or file.
- Remove any paint or rust on area to be welded.
- Position the Hitch Cinch in the hole, tack weld.
- Temporarily install hitch insert to assure proper fit.
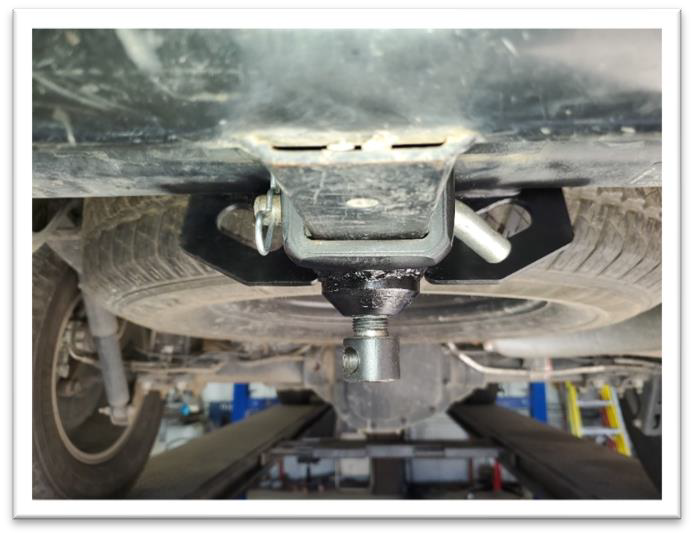
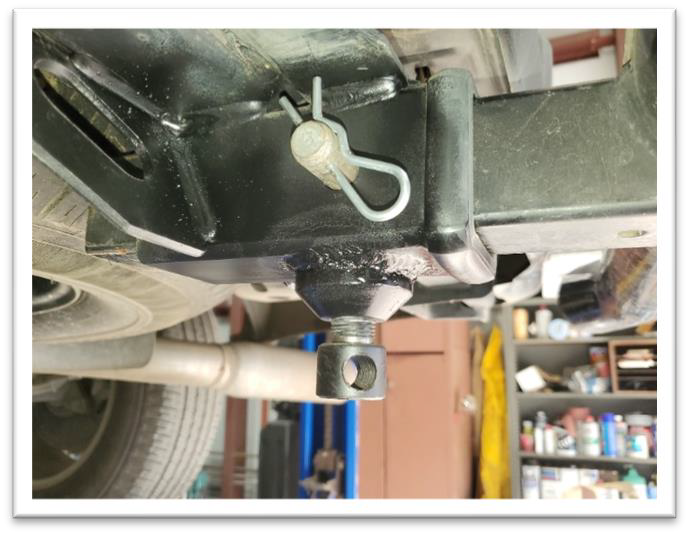
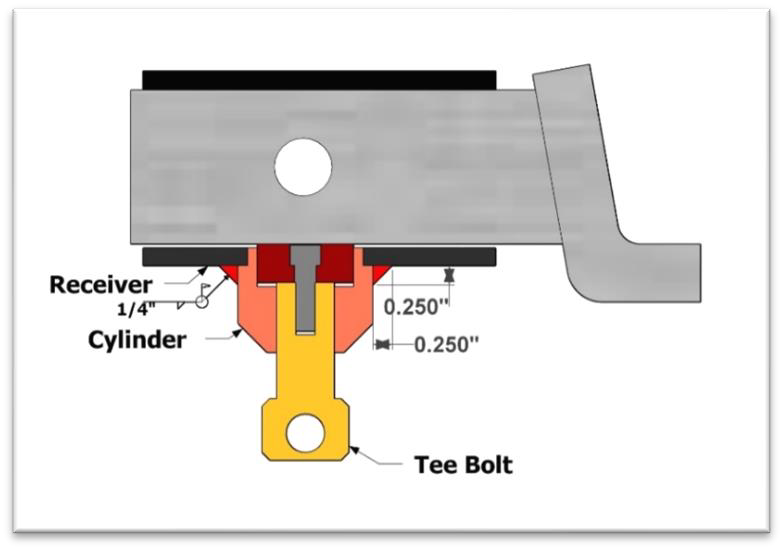
- Weld the Hitch Cinch cylinder to the receiver tube using a 1/4” perimeter fillet weld.
- Touch up paint as needed.
- Install hitch insert and pin, then tighten tee bolt to 60 foot pounds of torque.
Maintenance Information:
Periodically spray penetrating oil around the piston inside of receiver and externally around tee-bolt threads.
It is recommended that an insert is kept insalled and tighened with the Hitch Cinch at all times.
